
Breakpoints are a useful debugging tool in ROBOTC. Breakpoints can be placed on any line of code and tell the controller to stop executing the program when that line is reached. When the program reaches a breakpoint, the ROBOTC debugger informs the programmer, who can then check the status of the robot, the code editor, and debugger windows. ROBOTC supports multiple break points in any given program.
Breakpoints are denoted by a red circle in the gray area between the code and the line numbers.
To add a breakpoint:
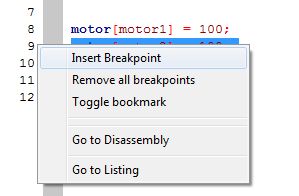
Right-click on the line number where you wish to add a break point and a context menu will appear. Select "Insert Breakpoint" to place a breakpoint at that line. You can also left click in the gray area between the line number and the code to add a breakpoint on that line.
To remove a breakpoint:
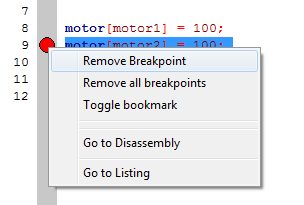
Right click on the red breakpoint circle and select "Remove Breakpoint," or left click on the red breakpoint circle.
Running your program with breakpoints:
When a breakpoint is reached in a program while the debugger window is open, you will see the following message from ROBOTC:
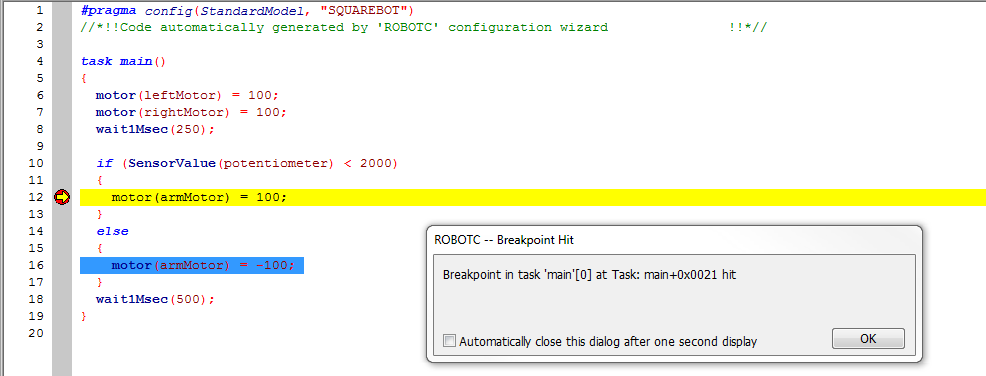
This message is an indication that the breakpoint has been reached. ROBOTC highlights the line of the breakpoint that was reached, allowing you to see which breakpoint the program execution stopped at (assuming you have multiple breakpoints).